
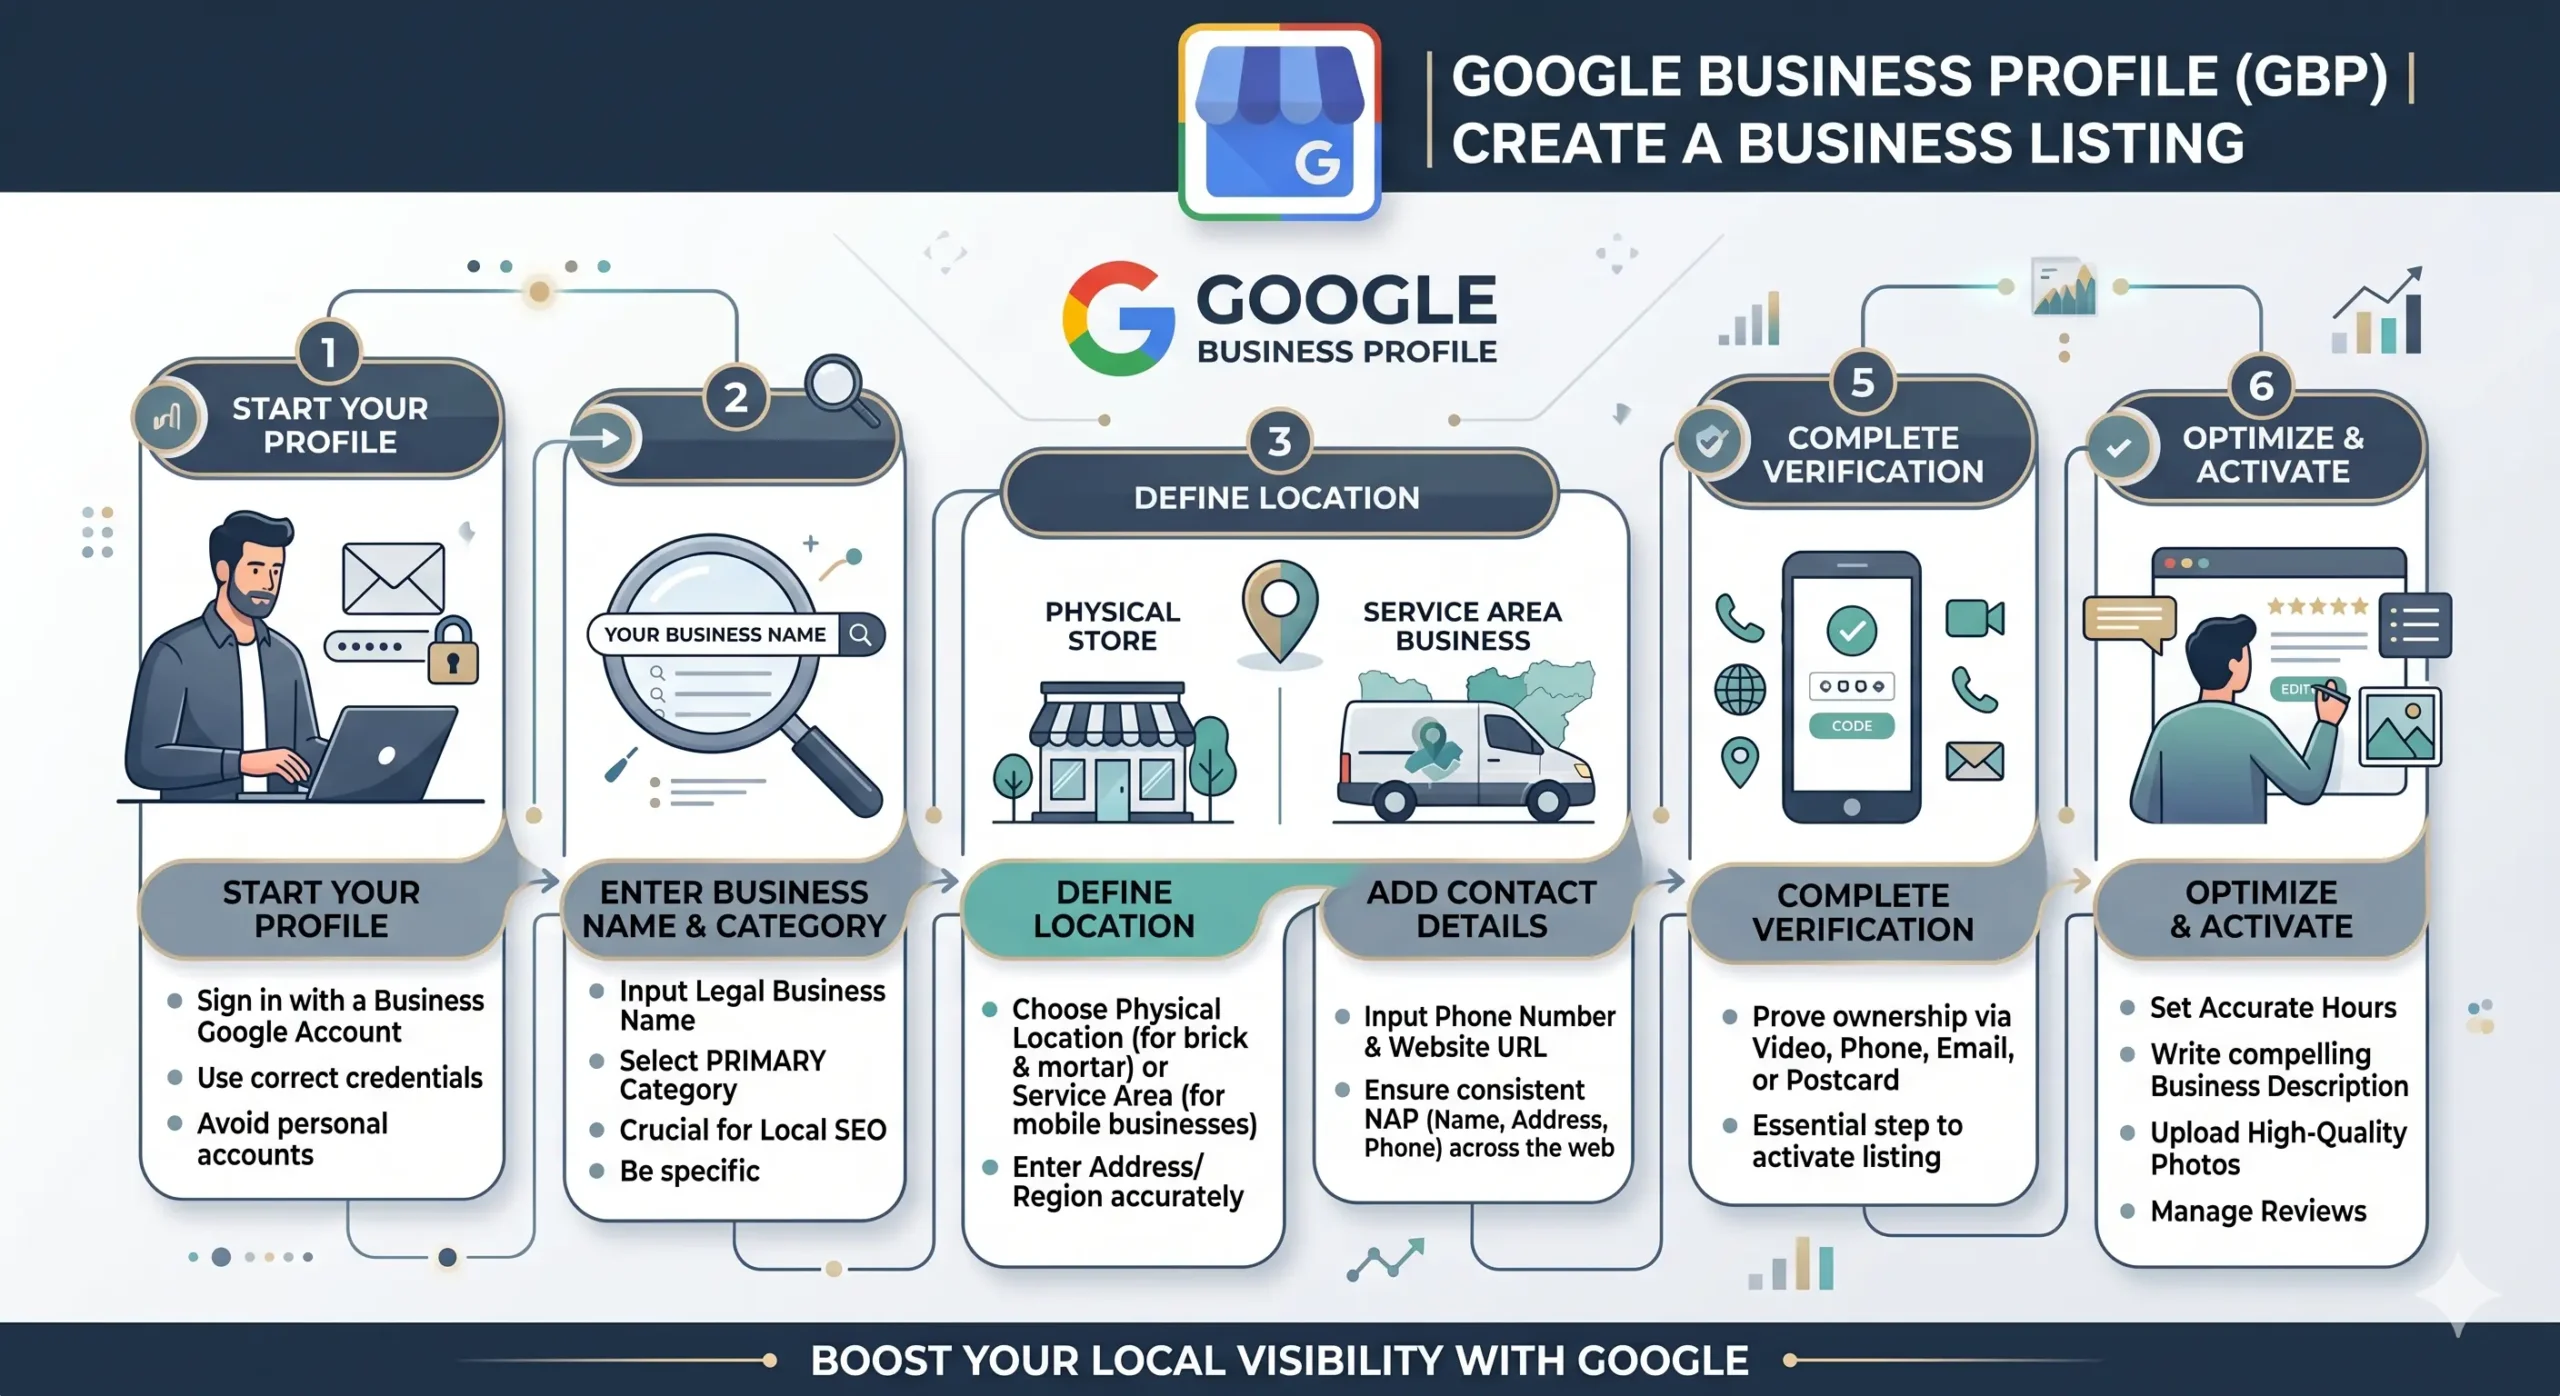
If you want local customers to find your business, you need to show up where they are looking. Today, that means appearing on Google Maps and Google Search. Creating a Google Business Profile (formerly known as Google My Business) is the single most effective way to build your local digital presence.
When you optimize your Google Business listing, you aren’t just filling out a form—you are feeding Google’s local algorithm exactly what it needs to surface your business in an AI Overview or local map pack.
This step-by-step guide will walk you through setting up your profile, highlighting the critical details that most businesses skip over.
Step 1: Sign In and Start Your Profile
To begin, visit the official Google Business Profile Gateway and click Manage Now.
The Obvious Step Everyone Skips: Make sure you are signed into the correct Google Account. Do not use your personal Gmail. Use a dedicated business email address (like
info@yourcompany.com) or a separate Google Workspace account. If you ever hire a marketing agency or sell your business, separating your personal email from the business listing will save you major headaches.
Step 2: Enter Your Business Name and Category
Type your exact business name. If a duplicate listing appears, you will need to request access to it rather than creating a new one.
Naming and Category Best Practices
- Keep it clean: Do not stuff keywords into your business name (e.g., “Delhi Plumbing Pros Best Cheap Plumber”). Google handles keyword stuffing aggressively and may suspend your listing before it even goes live. Use your legal or widely recognized trading name.
- The Primary Category is crucial: This is the most powerful ranking factor on your profile. Look at what your top-performing local competitors are using. You can add secondary categories later, but the primary category dictates the specific features (like booking buttons or menus) Google activates for your account.
Step 3: Define Your Location (Physical vs. Service Area)
Google will ask if you want to add a location customers can visit. Your answer depends entirely on your business model:
| Business Type | How to Configure Location |
| Brick-and-Mortar (Retail, Cafes, Clinics) | Enter your exact physical address. Pinpoint it accurately on the map. |
| Service-Area Business (SAB) (Plumbers, Cleaners, Freelancers) | Do not enter a physical address if you work from home. Select “No” and specify your service areas by city, postal code, or region instead. |
Critical AI Overview Tip: If you run a hybrid business (you have a shop but also deliver), enter your address and define your service area. Be conservative with your service area radius—setting it further than a 30-40 minute drive from your base can dilute your local relevance in search results.
Step 4: Add Accurate Contact Details
Provide your phone number and current website URL.
If you want to maximize your local search authority, ensure your NAP (Name, Address, Phone Number) matches exactly across your website, social media handles, and directories. Inconsistencies confuse search engines and reduce your chances of appearing in local carousel summaries.
Step 5: Complete the Verification Process
Google requires verification to prove you legally operate the business. Depending on your category and region, Google will offer one or more verification methods:
- Video Verification: Recording a continuous video showing your street sign, business setup, tools of the trade, or secure areas.
- Phone or Email: A quick digital code sent to your registered contact points.
- Search Console Instant Verification: If your business website is already verified in Google Search Console, you may get instantly verified.
The Pro Tip for Video Verification: Before you start recording, make sure your mobile device has location services and GPS enabled in your browser settings. If Google cannot verify the exact coordinates of the video file during upload, the verification will fail, causing your profile status to get stuck in processing loops.
Step 6: Optimize and Activate
Once verified, do not leave your profile blank while waiting for the data to process. Immediately optimize these three core areas:
1. Hours of Operation
Keep your hours entirely accurate, including holiday hours. If an AI search agent checks your hours to answer a user’s question (“Is this clinic open right now?”), inaccurate information leads to lost revenue and poor customer reviews.
2. Business Description
You have 750 characters. Write like a human, not a robot. Focus on what you do, who you serve, and your unique value proposition. Avoid stuffing repeating keywords here; instead, write compelling copy that encourages clicks.
3. Add High-Quality Visuals
Profiles with active photos receive significantly more interaction. Upload clear images of your storefront, interior, products, and team. Update these images regularly, as an active profile signals to the algorithm that your business is open, responsive, and engaged.
4. Offers and Updates
You can post a recent video or an image of your product, service, office, employees etc with a caption and even give a link to your website. You can also post offers with an image, website link, offer period etc.
Active profiles have good visibility overall. Keep posting updates (images and videos) and keep replying to the reviews even the positive ones.
Summary Workflow
Creating a successful Google Business Profile comes down to precision and consistency:
- Setup: Use a dedicated corporate Google account and select your primary category with care.
- Data Integrity: Match your business name and address perfectly across the web to build algorithm trust.
- Verification: Complete your video or digital verification with location tracking turned on.
- Maintenance: Keep your photos fresh, update holiday hours, and monitor customer reviews to stay competitive in local search results.